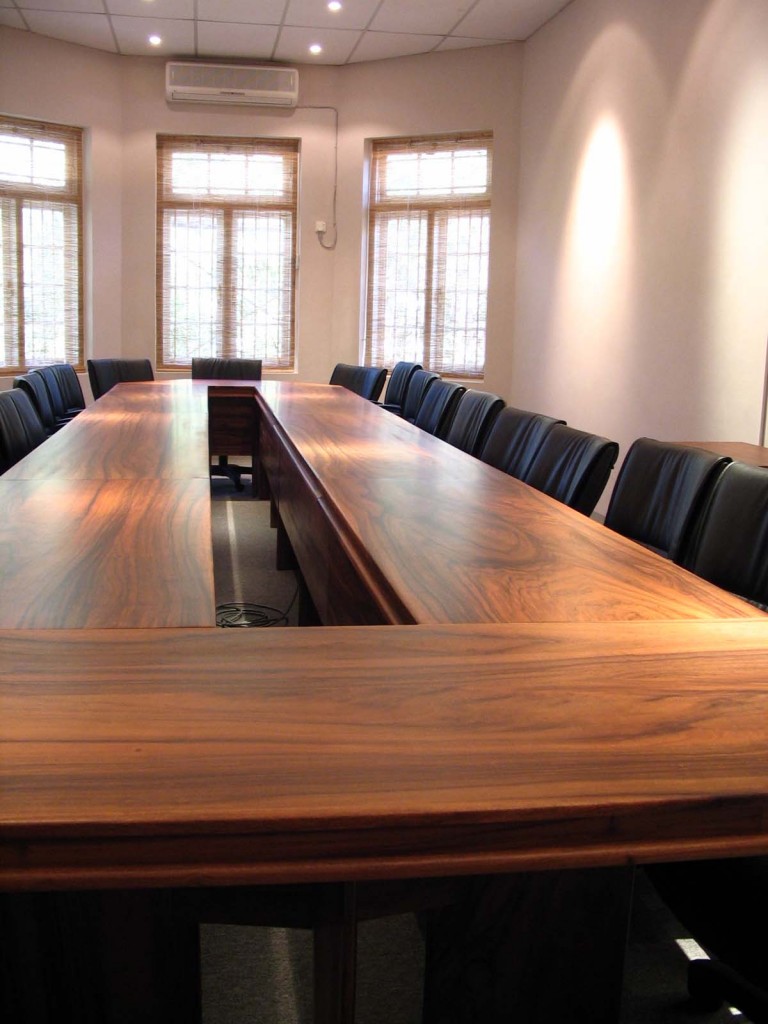
A solid wood table top provides tables with a strong, beautiful look for both antique and modern furniture. There are instances when the solid wood table top is damaged through a chip being taken out of it. This may have happened through moving, through storage, or just with regular use. You may also have purchased an antique solid wood table that has been slightly damaged. To restore the solid wood table top to its original beauty will take some work, but it can be done through several steps and attention to detail.
Tools and Materials Needed
- Hammer
- Chisel
- Hand Sander
- Dremel Tool
- Grinding Wheel Bit
- Replacement Wood
- Wood Glue
- Dowels
- Drill and Bits
- Stain
- Foam Brush
Step 1: Survey Damage to Table Top
With the table top in some good lighting, take a look at the damage that has been done. You will need to look carefully to make sure of the extent of the chip and any other gouges in the surface.
Step 2: Buy Replacement Wood
A solid wood table top can be repaired by clearing away the wood surrounding the chip and replacing it with a new piece. If you can, locate the same type of wood that the table top is already made out of. This will give the top consistency in look and quality. If not, then get as close as you can.
Step 3: Outline Square Around Chip
Using a pencil and square, draw a small square around the chip in your solid wood table top. This is the section of wood that you will be removing.
Step 4: Cut Out Square
Score the outline of the square with a chisel and hammer. If the square is not too big, you can remove all of the wood with the chisel. However, larger pieces can be done a little easier with a Dremel and a grinding wheel bit. Work at the chip until it is completely removed. You do not have to go very deep with the cut. Only go slightly deeper than the chip in the wood is.
Step 5: Square Up Sides and Bottom
Once the square has been removed, square up the sides and the bottom to make everything level. You can use the Dremel with a sanding attachment, or a chisel.
Step 6: Cut Replacement Wood to Size
Measure the dimensions of the square and cut the replacement piece of wood to size. The use of a bandsaw, or a small scroll saw will make this much easier.
Step 7: Glue in Wood
With the replacement piece cut to size, you can then insert it into the solid wood table top. Clean out the square hole and apply a liberal amount of wood glue. Insert the wood piece and make sure it sits on the bottom of the square. Clean off the excess glue with a cloth.
Step 8: Sand and Finish
Let the replacement piece dry overnight. Once it is dry you can then sand off the excess glue and make sure the replacement piece of wood is flush with the rest of the solid wood table top. Clean off the table top with a damp rag and finish it with your favorite stain. You can choose to refinish the entire table top for a more universal look.

